
Perfect Peanut Butter Dog Treats for Beginners: Step-by-Step Recipe and Tips
Amazon Affiliate Disclaimer: As an Amazon Associate, I earn from qualifying purchases. This helps support my channel and allows me to continue making content like this. Thank you for your support!
Introduction:
Welcome to Pawsitive Profit! Today, I'm excited to share one of my favorite dog treat recipes that’s perfect for beginners. If you're new to baking dog treats or looking for a simple, reliable recipe to kickstart your dog treat business, you've come to the right place. This peanut butter dog treat recipe is versatile and easy to follow, making it an excellent choice for your first baking adventure. Let’s get started!
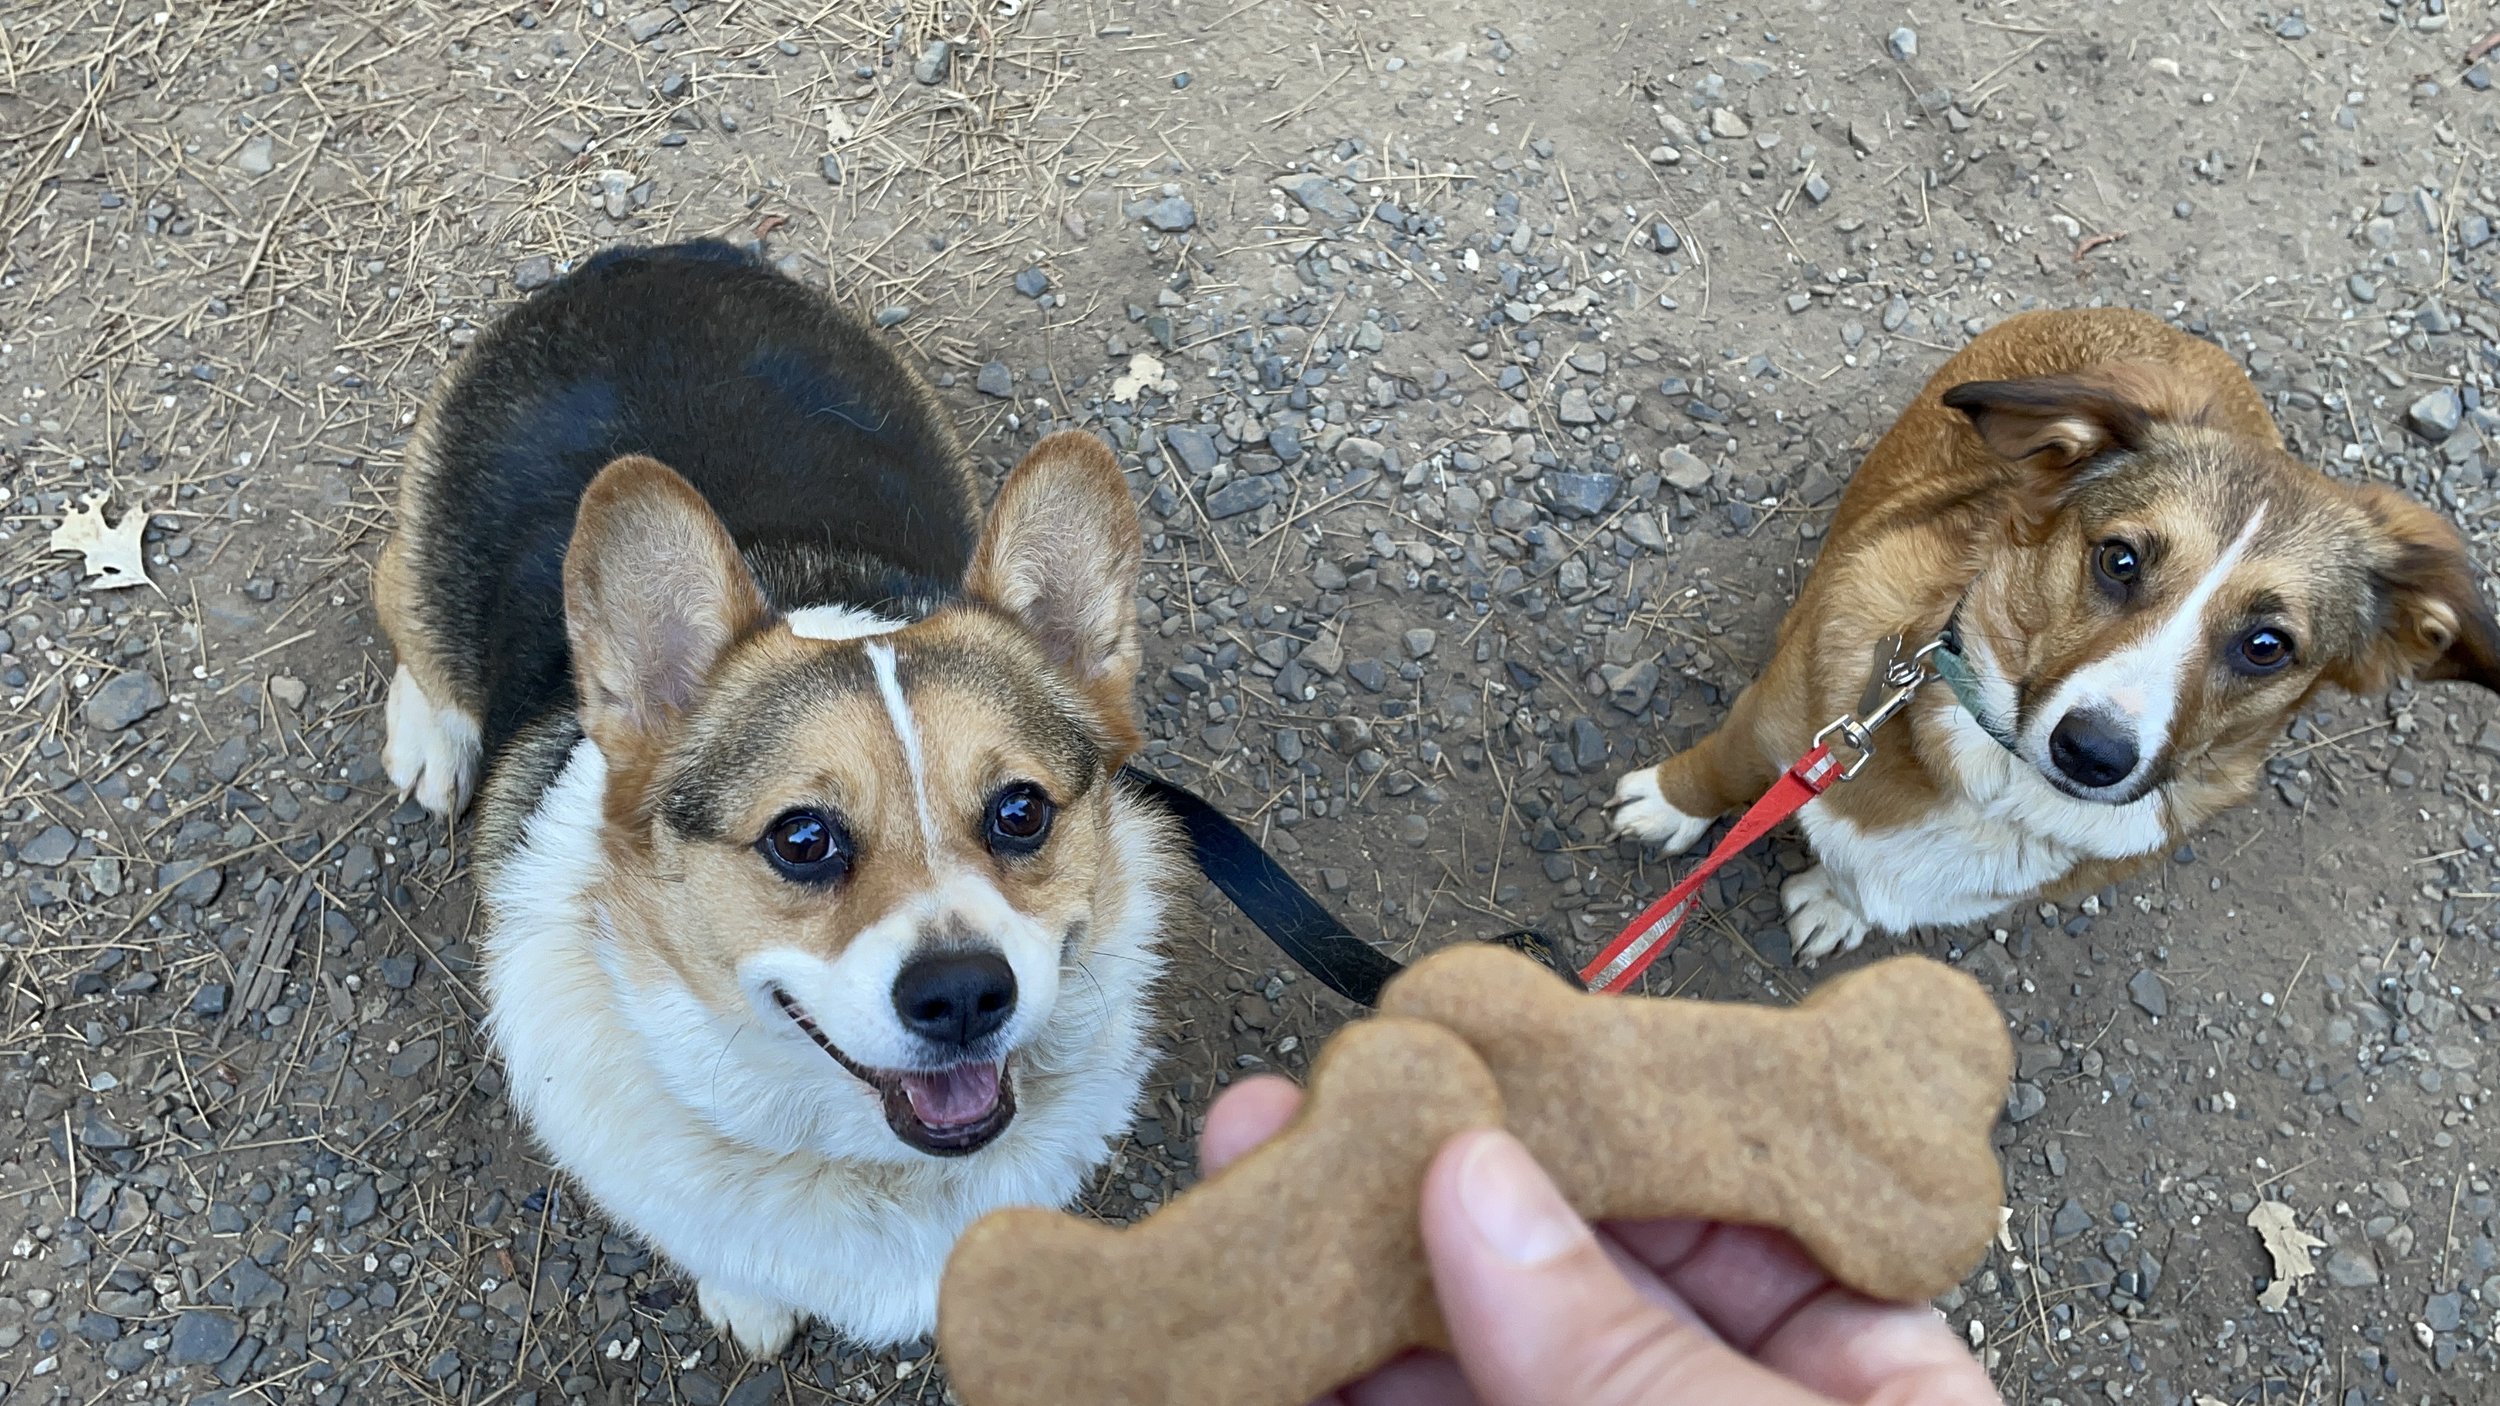
Loki and Chibi awaiting the freshly baked peanut butter treats.
Why This Recipe is Perfect for Beginners:
Starting with a simple yet delicious recipe is essential for building your confidence in the kitchen. This peanut butter dog treat recipe uses basic ingredients and straightforward steps, ensuring that even those with no prior baking experience can succeed. Plus, the dough can be used to make various treats, from peanut butter bones to iced cookies and even the shells for my Canine-Oli, a dog-friendly cannoli.
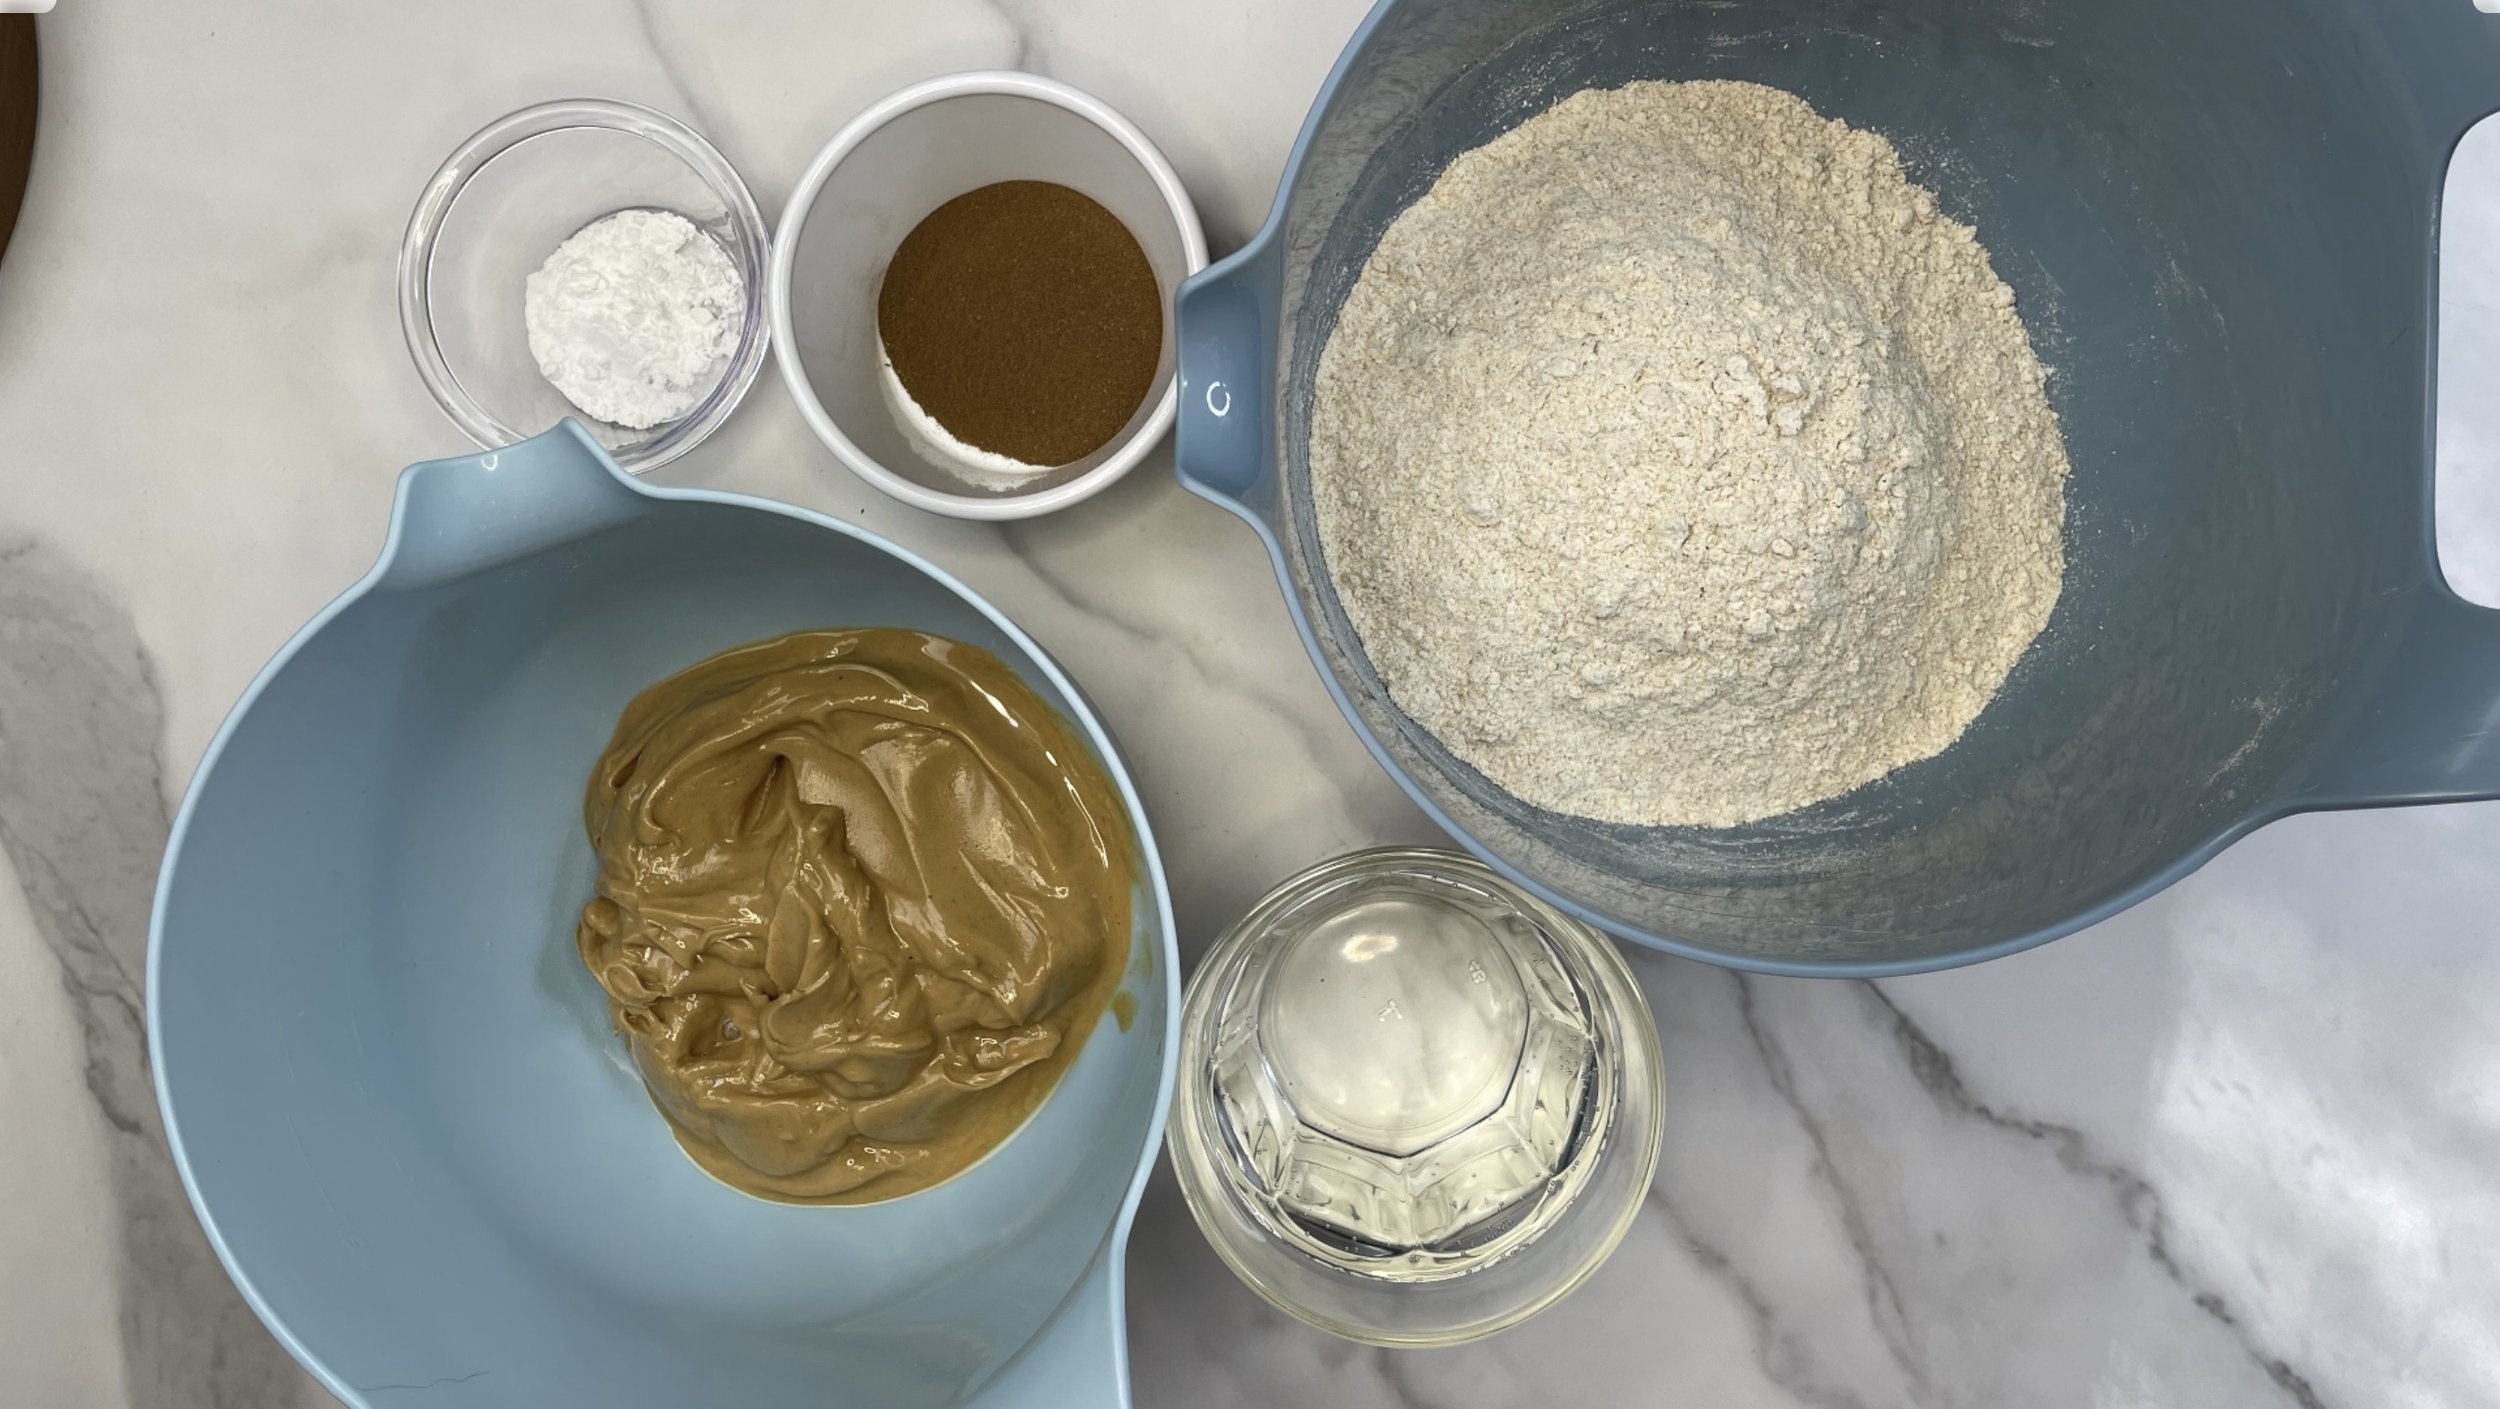
Ingredients to make peanut butter dog treats

Equipment to make peanut butter dog treats
Ingredients:
2 cups whole wheat flour
1 cup creamy peanut butter (all-natural, no sugar added)
1 cup warm water
1 tsp baking powder
2 tsp cinnamon
Instructions:
Preheat the Oven: Preheat your oven to between 325-350 degrees Fahrenheit. Since every oven is a little different, I find that 325 degrees works best for my old oven.
Mix Dry Ingredients: In a large bowl, whisk together the whole wheat flour, baking powder, and cinnamon until well combined.
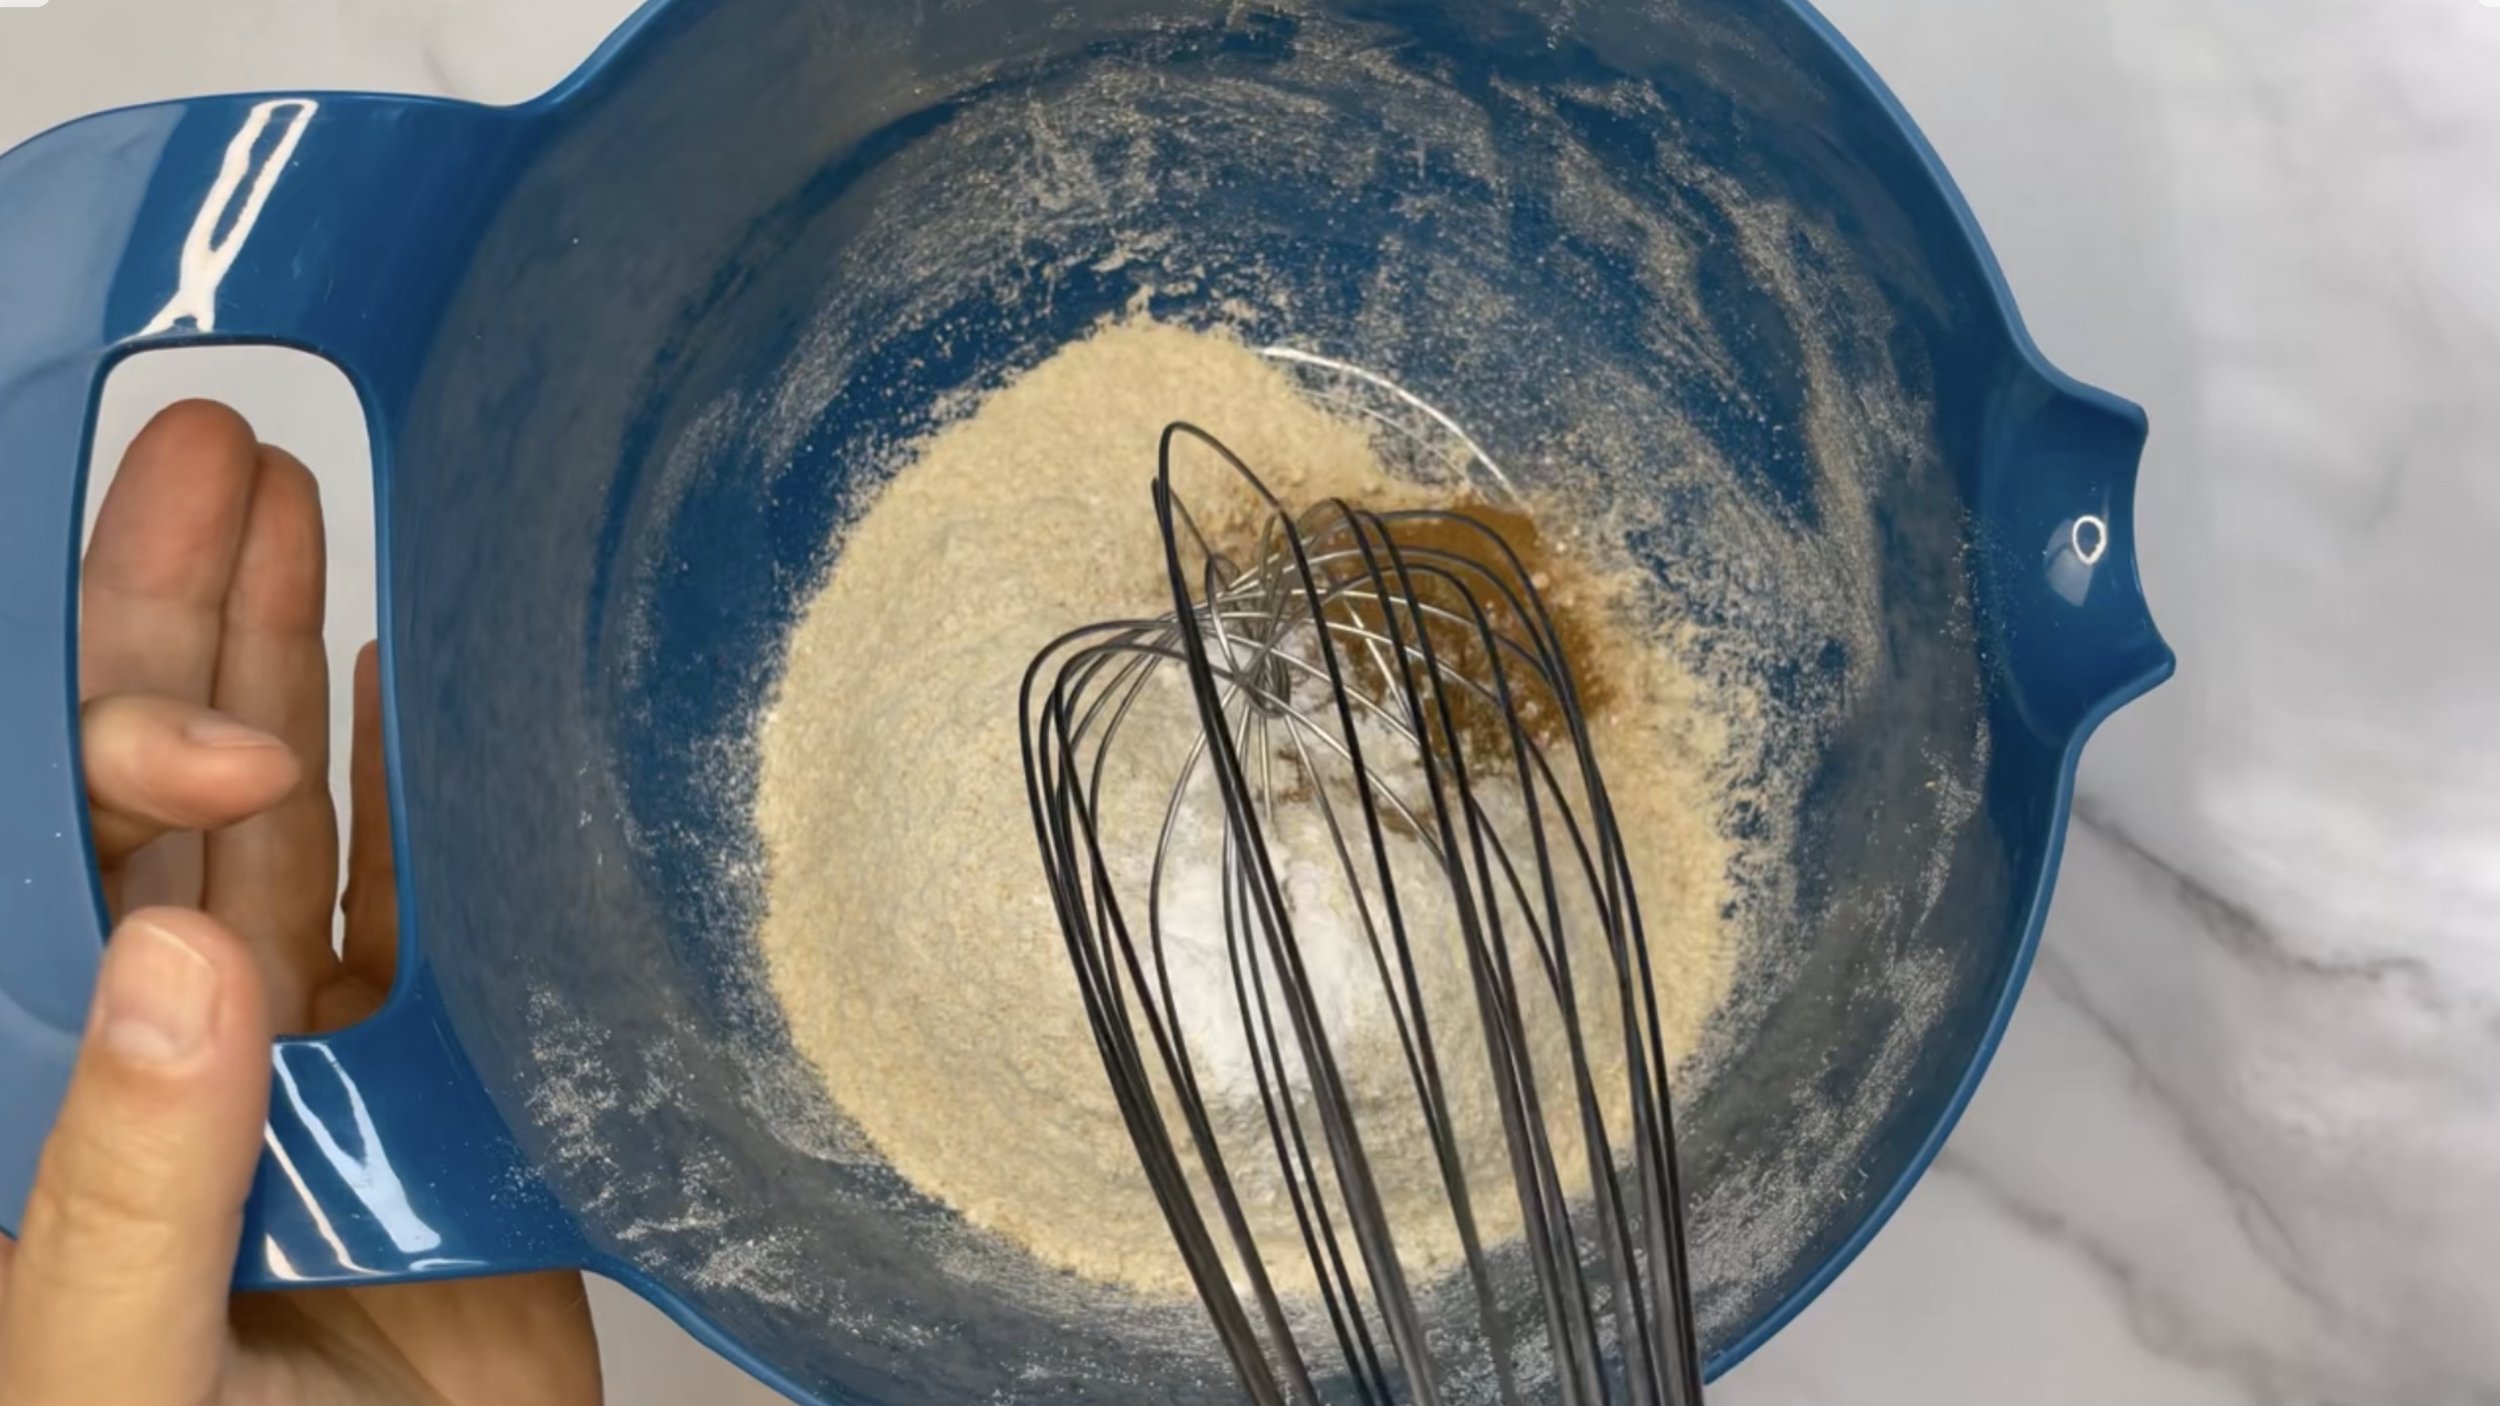
Whisk together dry ingredients.
2. Add Peanut Butter: Mix in the creamy peanut butter thoroughly. This step ensures that the peanut butter is evenly distributed throughout the dough.
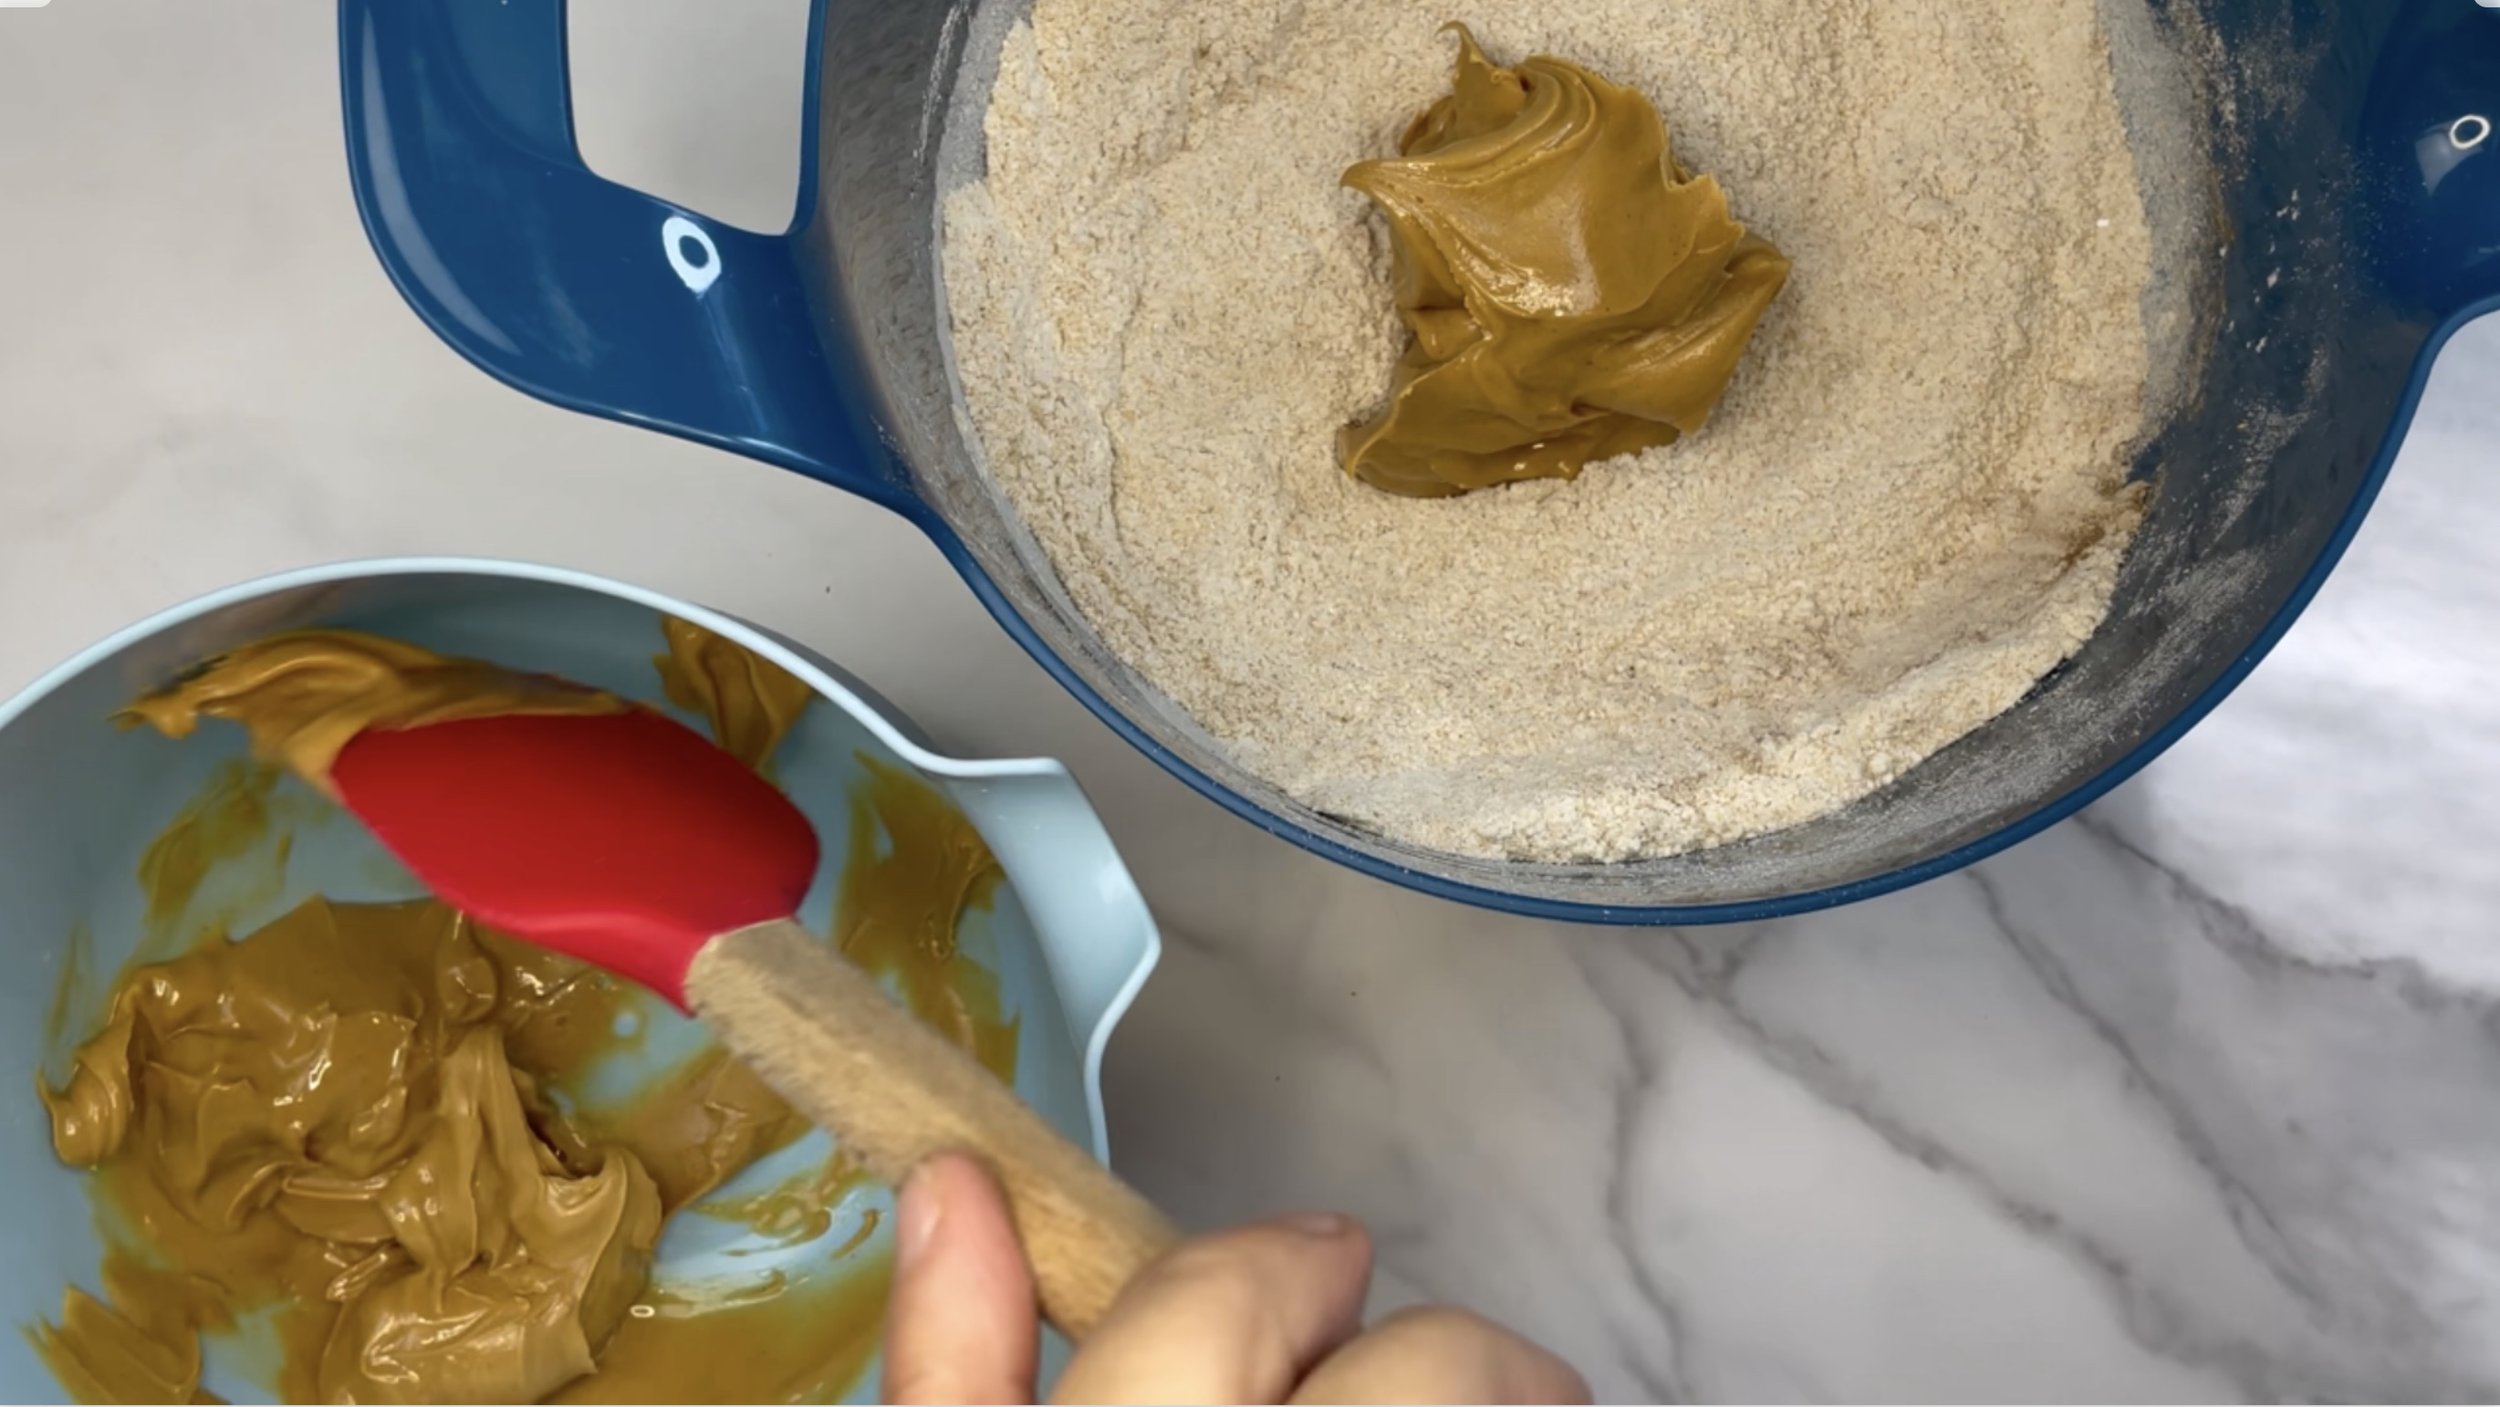
Add peanut butter.
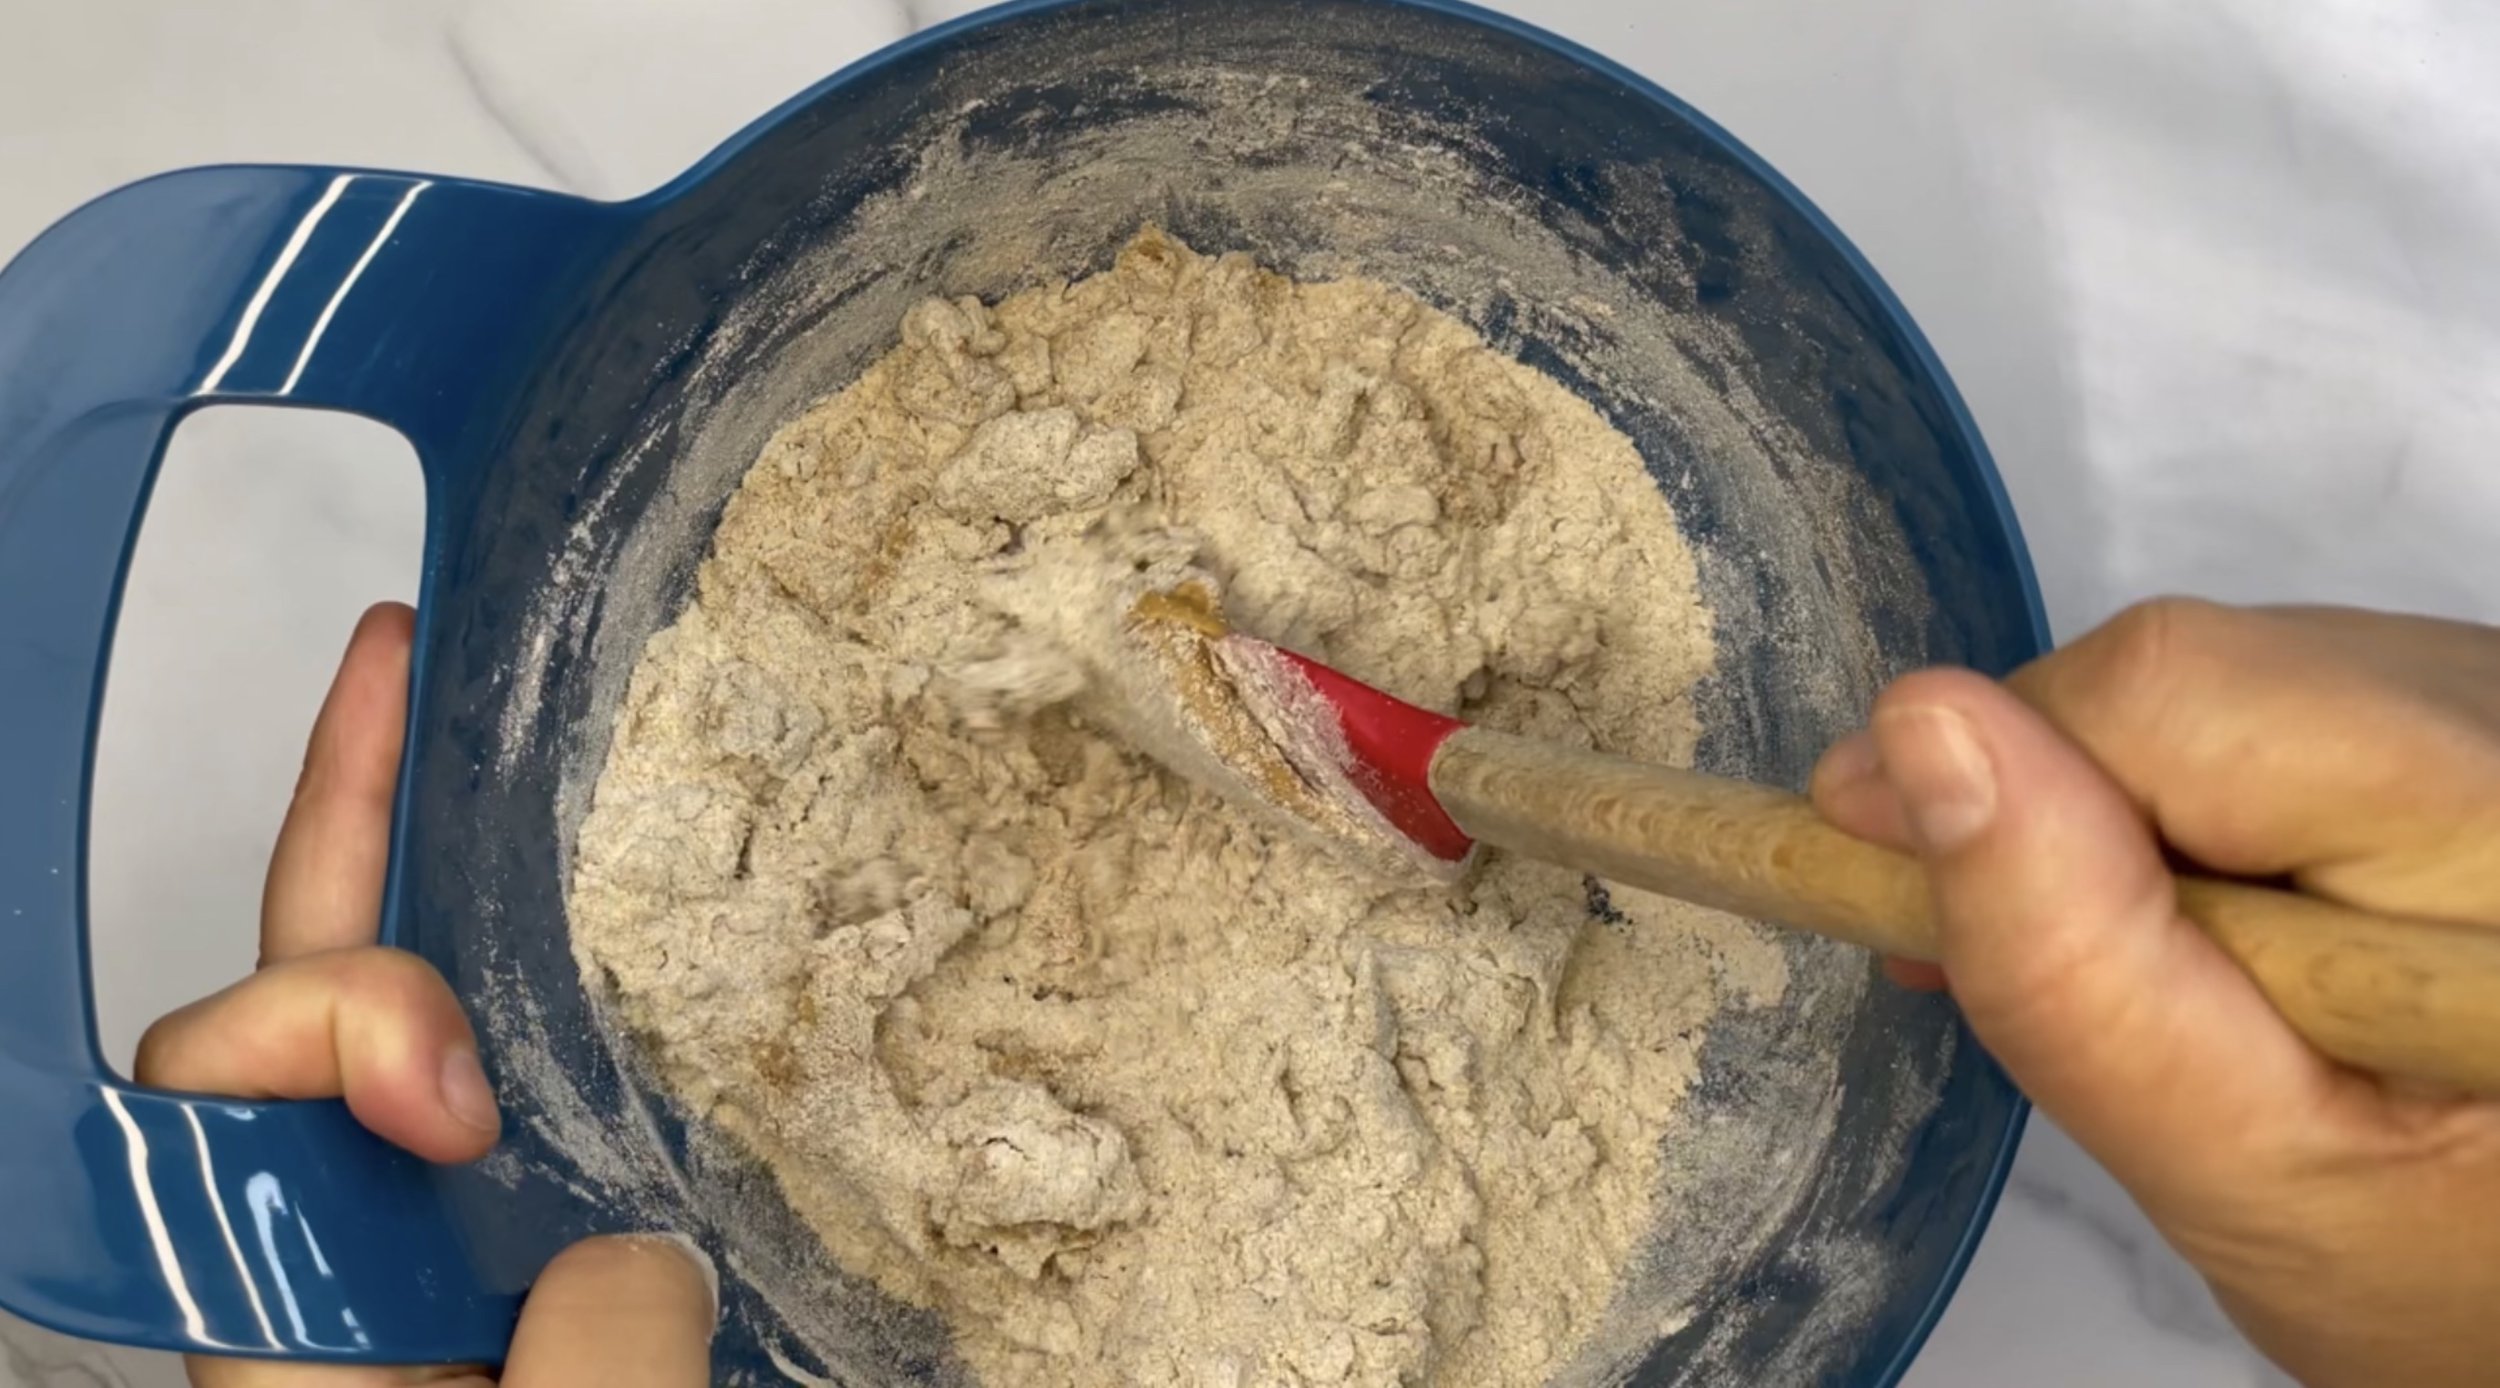
Incorporate peanut butter by smashing it into the dry ingredients with the back of a rubber scraper.
3. Incorporate Water: Gradually add the warm water to the mixture, stirring until everything is well incorporated. Be careful not to overmix the dough, as this can make it tough. If you like, you can cover the dough or place it in a ziplock bag and let it rest for 10 minutes. This allows the flour to soak up the moisture.

Add warm water slowly in small amounts.
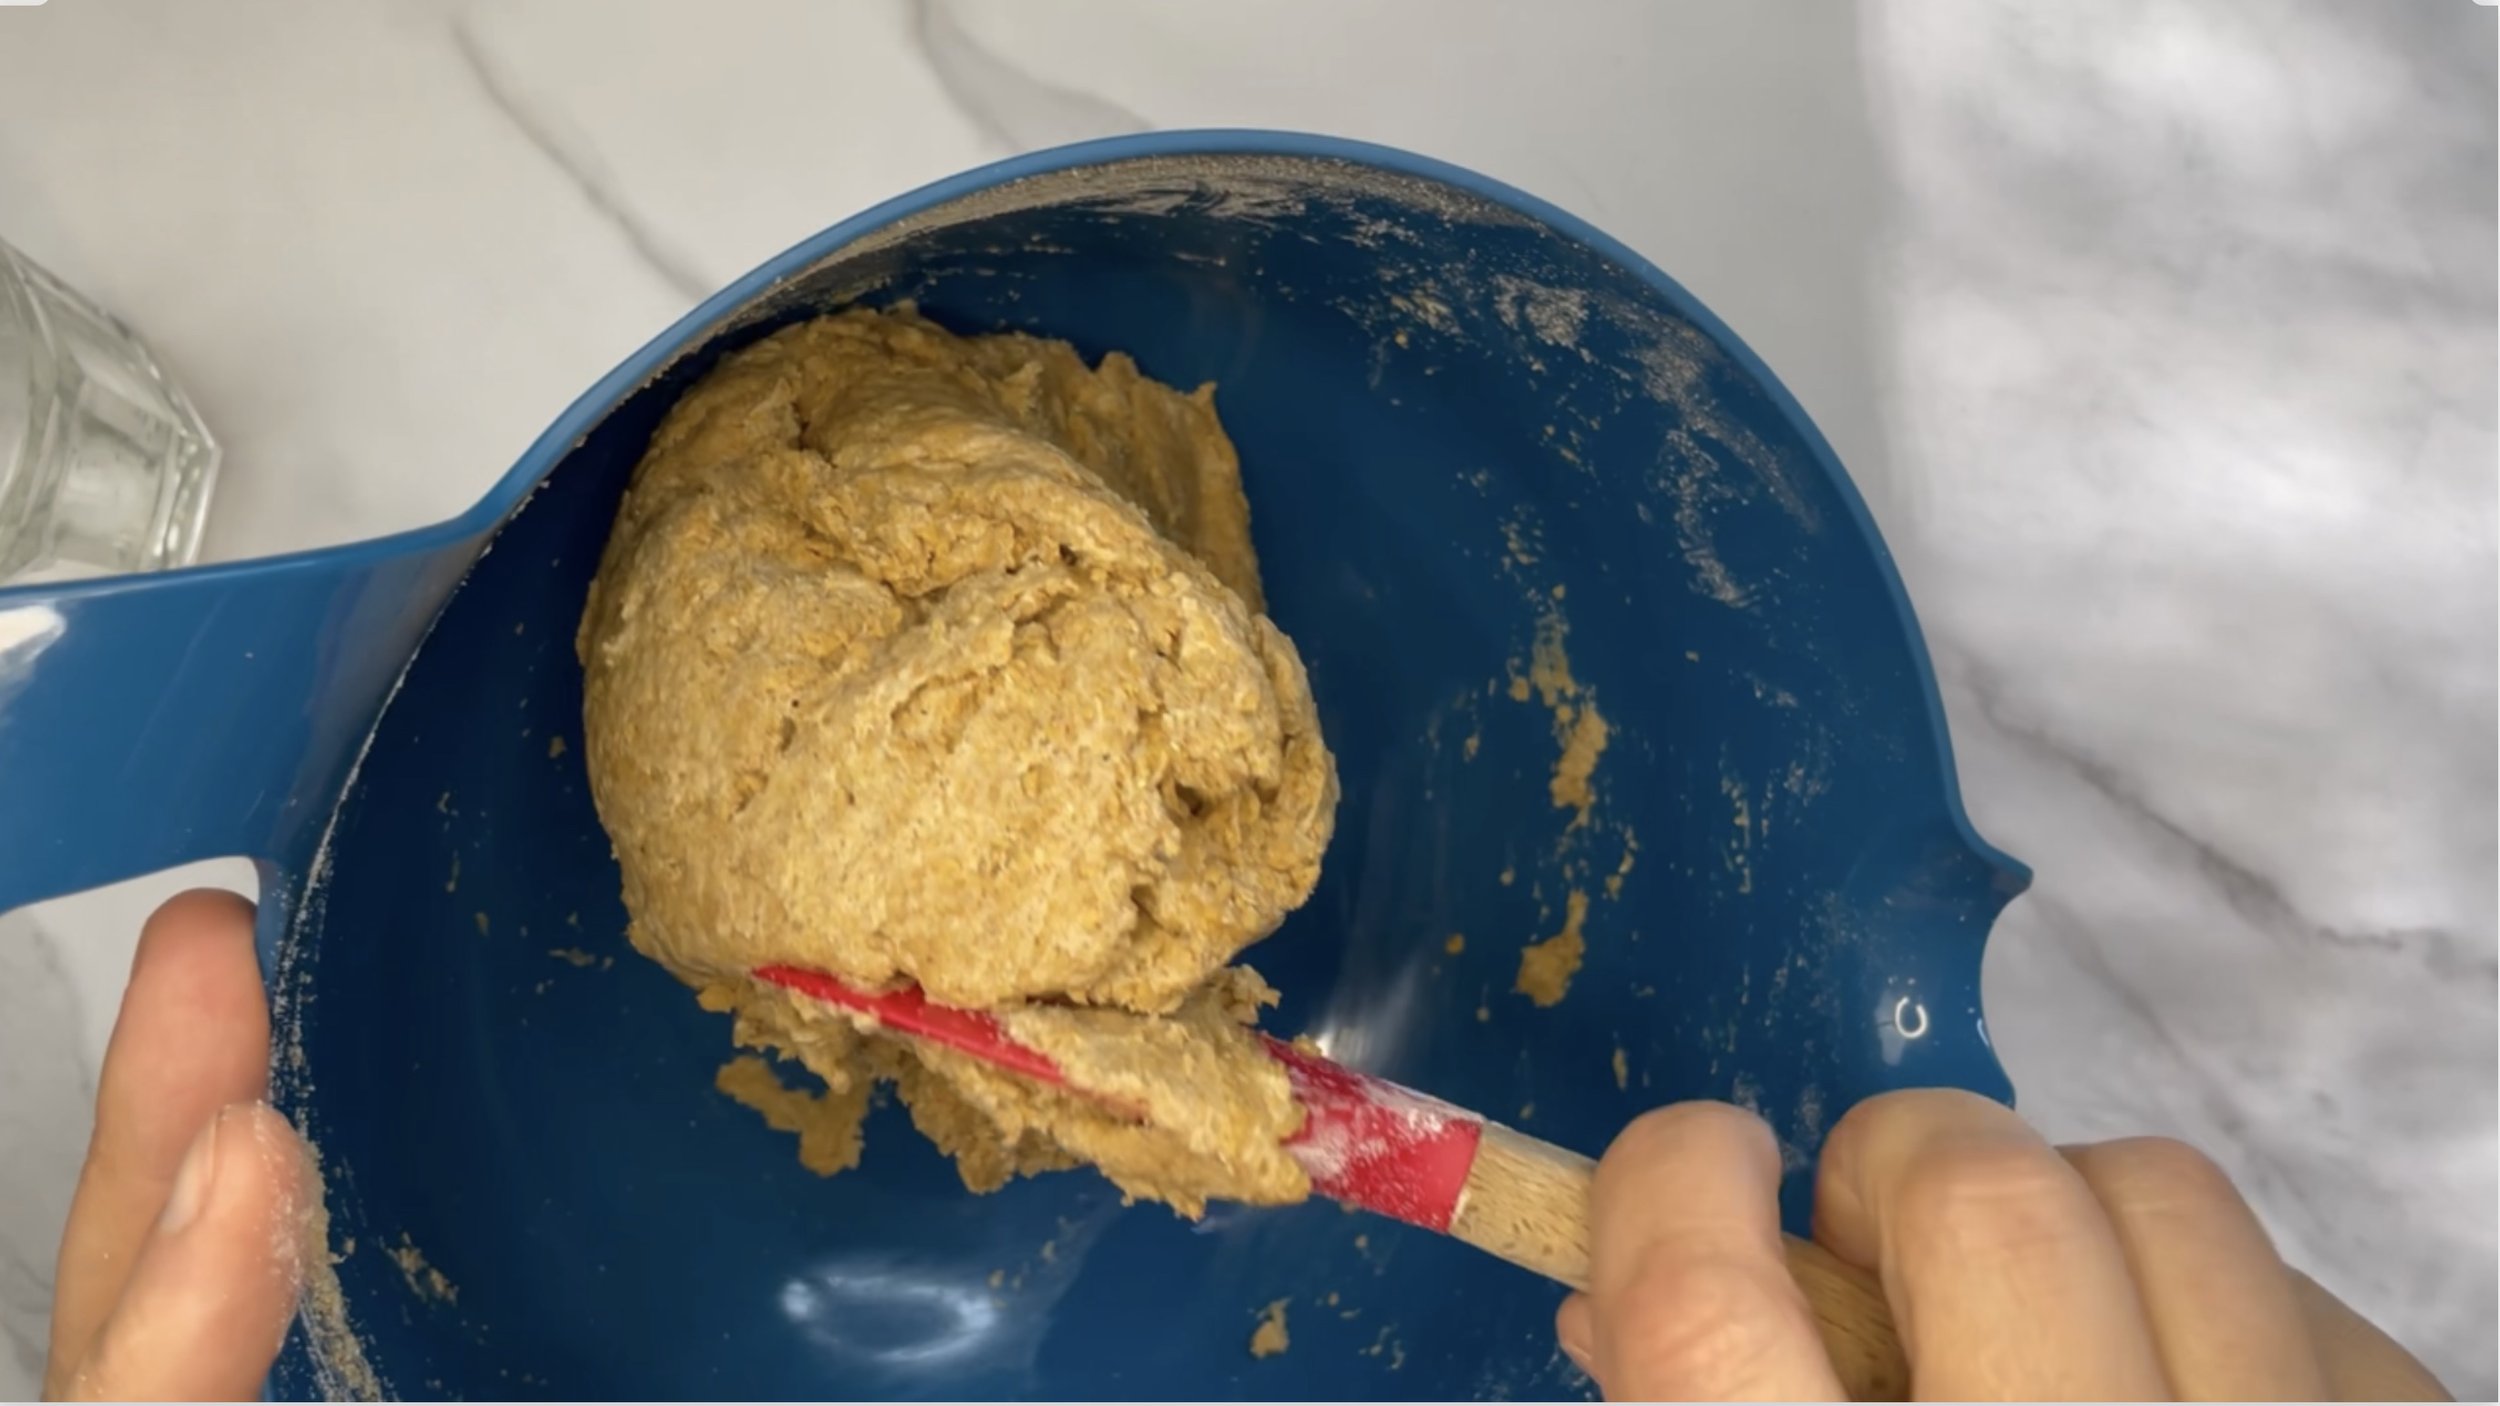
Dough will start to come together and form a ball.
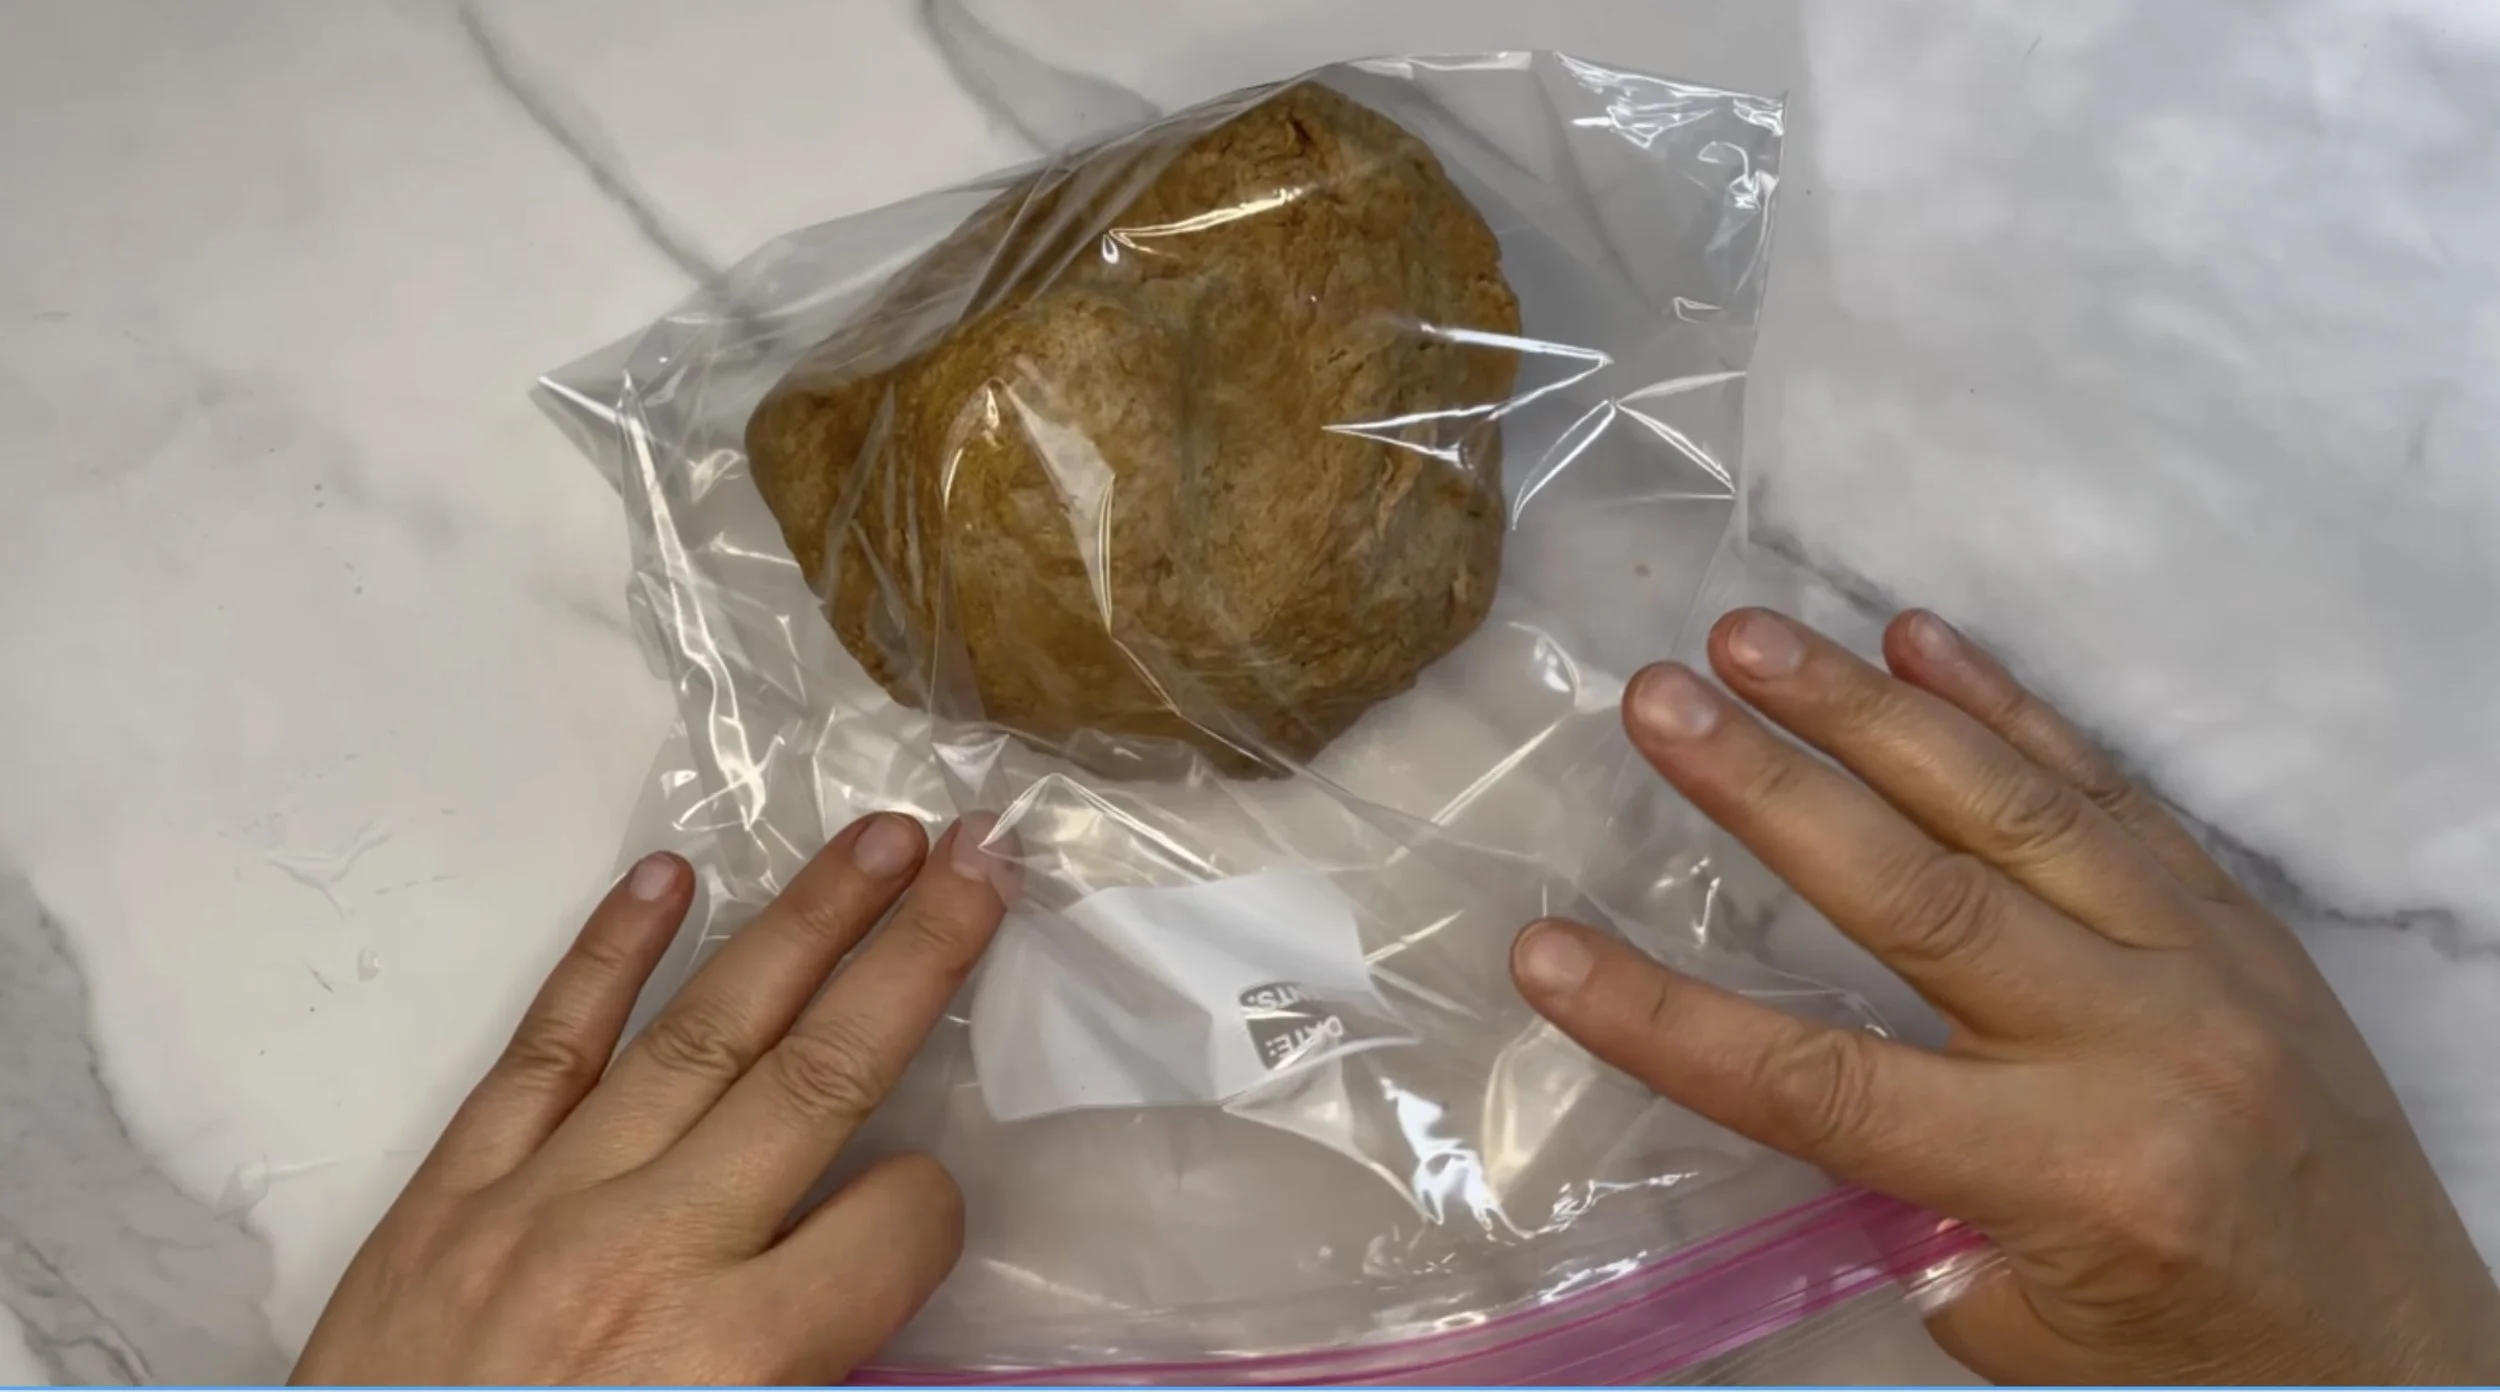
Place dough ball inside a Ziplock bag and let rest for 10 minutes.
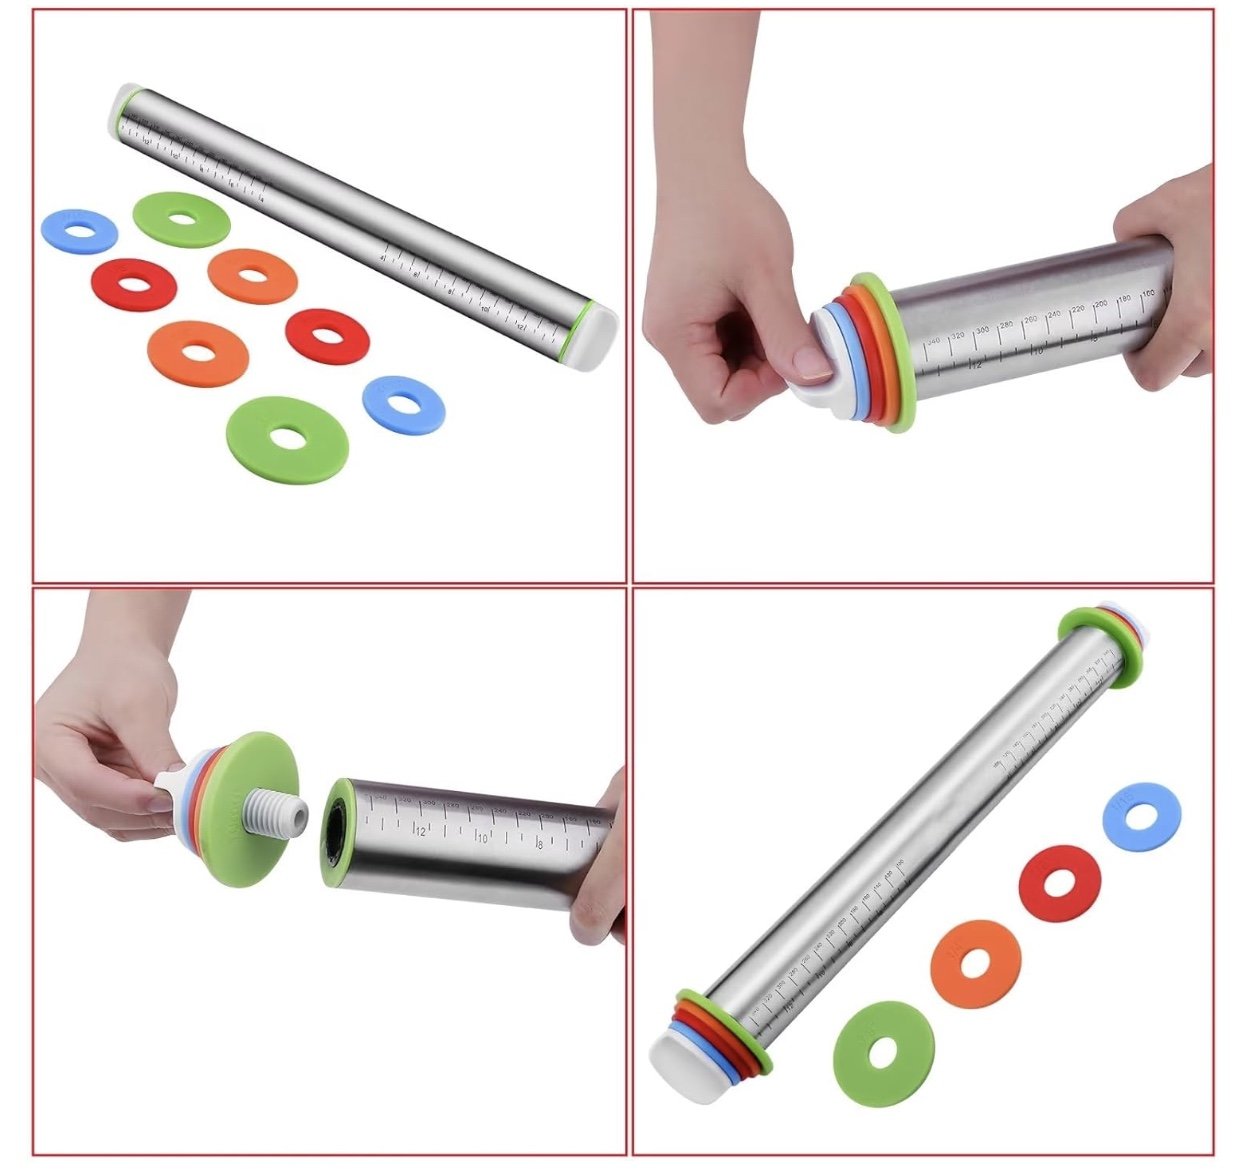
4. Roll Out the Dough: Roll the dough to your desired thickness using the thickness guides on your rolling pin (¼” or ½”). If the dough is too sticky, sprinkle a little flour on the rolling surface and the rolling pin.

Roll out the dough. I use an XL Pastry Mat
Rolling Pin with Thickness Guides

5. Cut Out Shapes: Use cookie cutters to cut out shapes from the rolled dough. Get creative with different shapes or use cookie stamps to add fun designs.

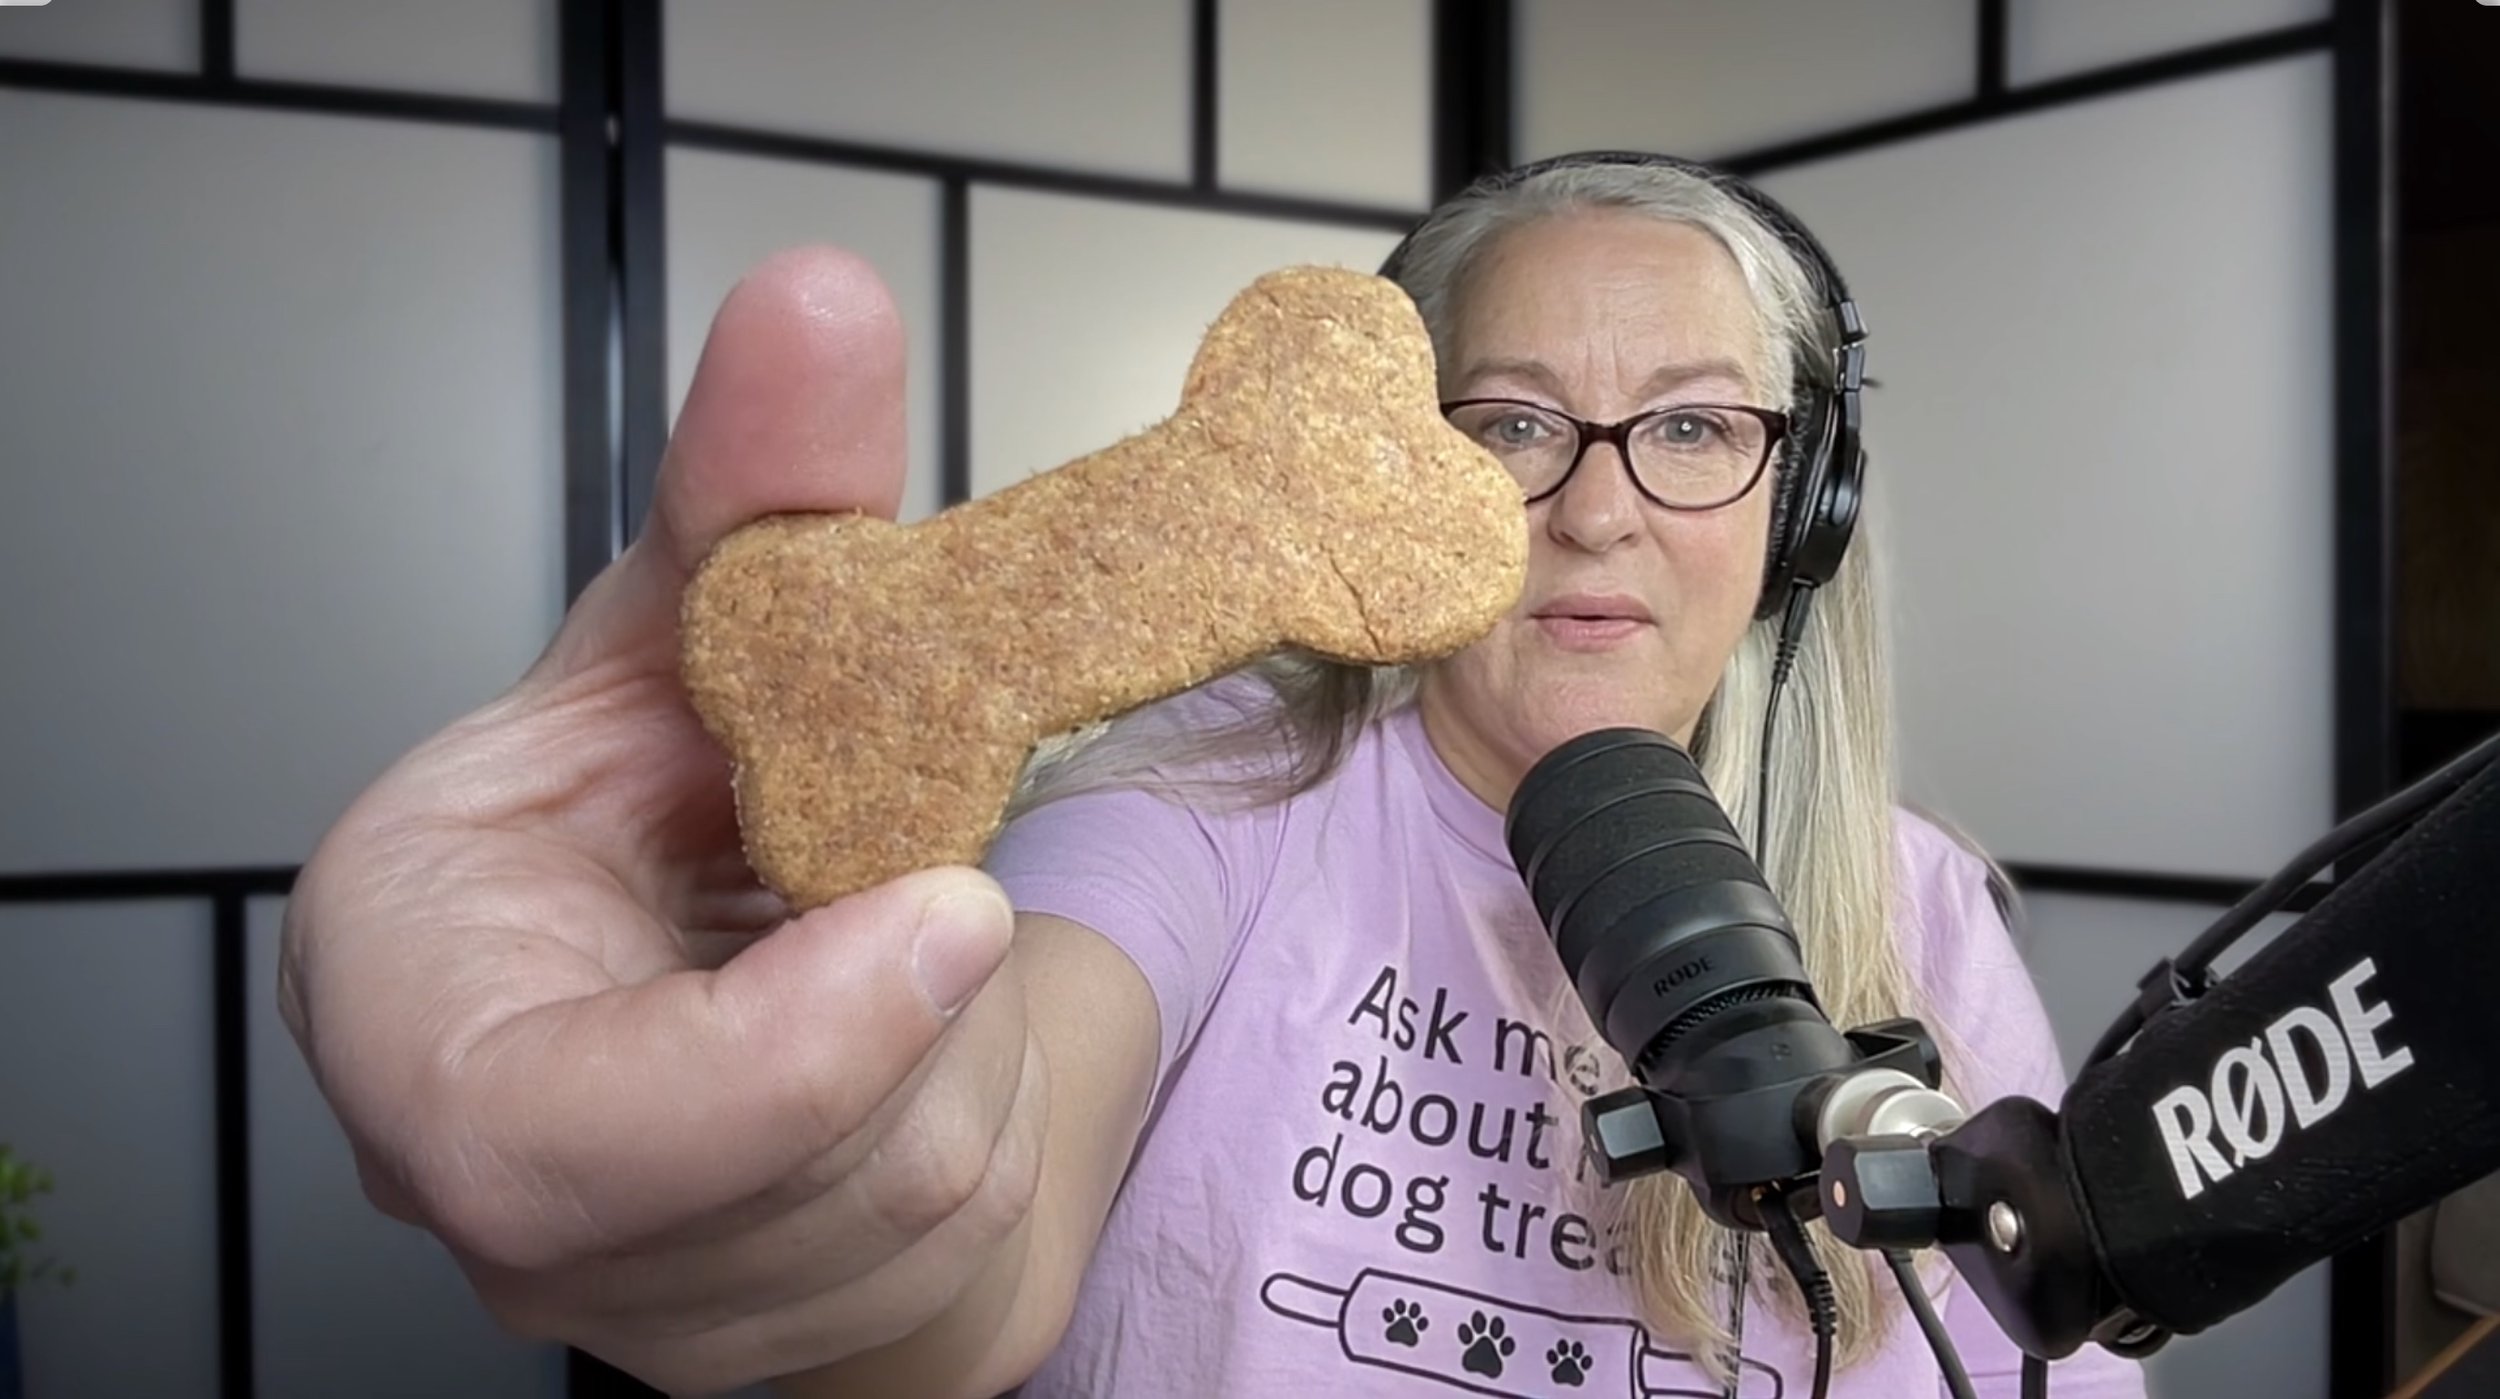
Cut out dog bone shapes. This set has 4 sizes.
6. Bake: Place the cut-out treats on a parchment paper-lined baking sheet. Bake in the preheated oven for about 25 minutes. Check for doneness every 3 minutes and rotate the cookie sheets if necessary for even baking. The treats should be firm but not overly brown. If you prefer crunchier treats, you can turn off the oven and leave the cookies inside to cool down for a few hours or overnight or dehydrate your dog treats for a longer shelf life.
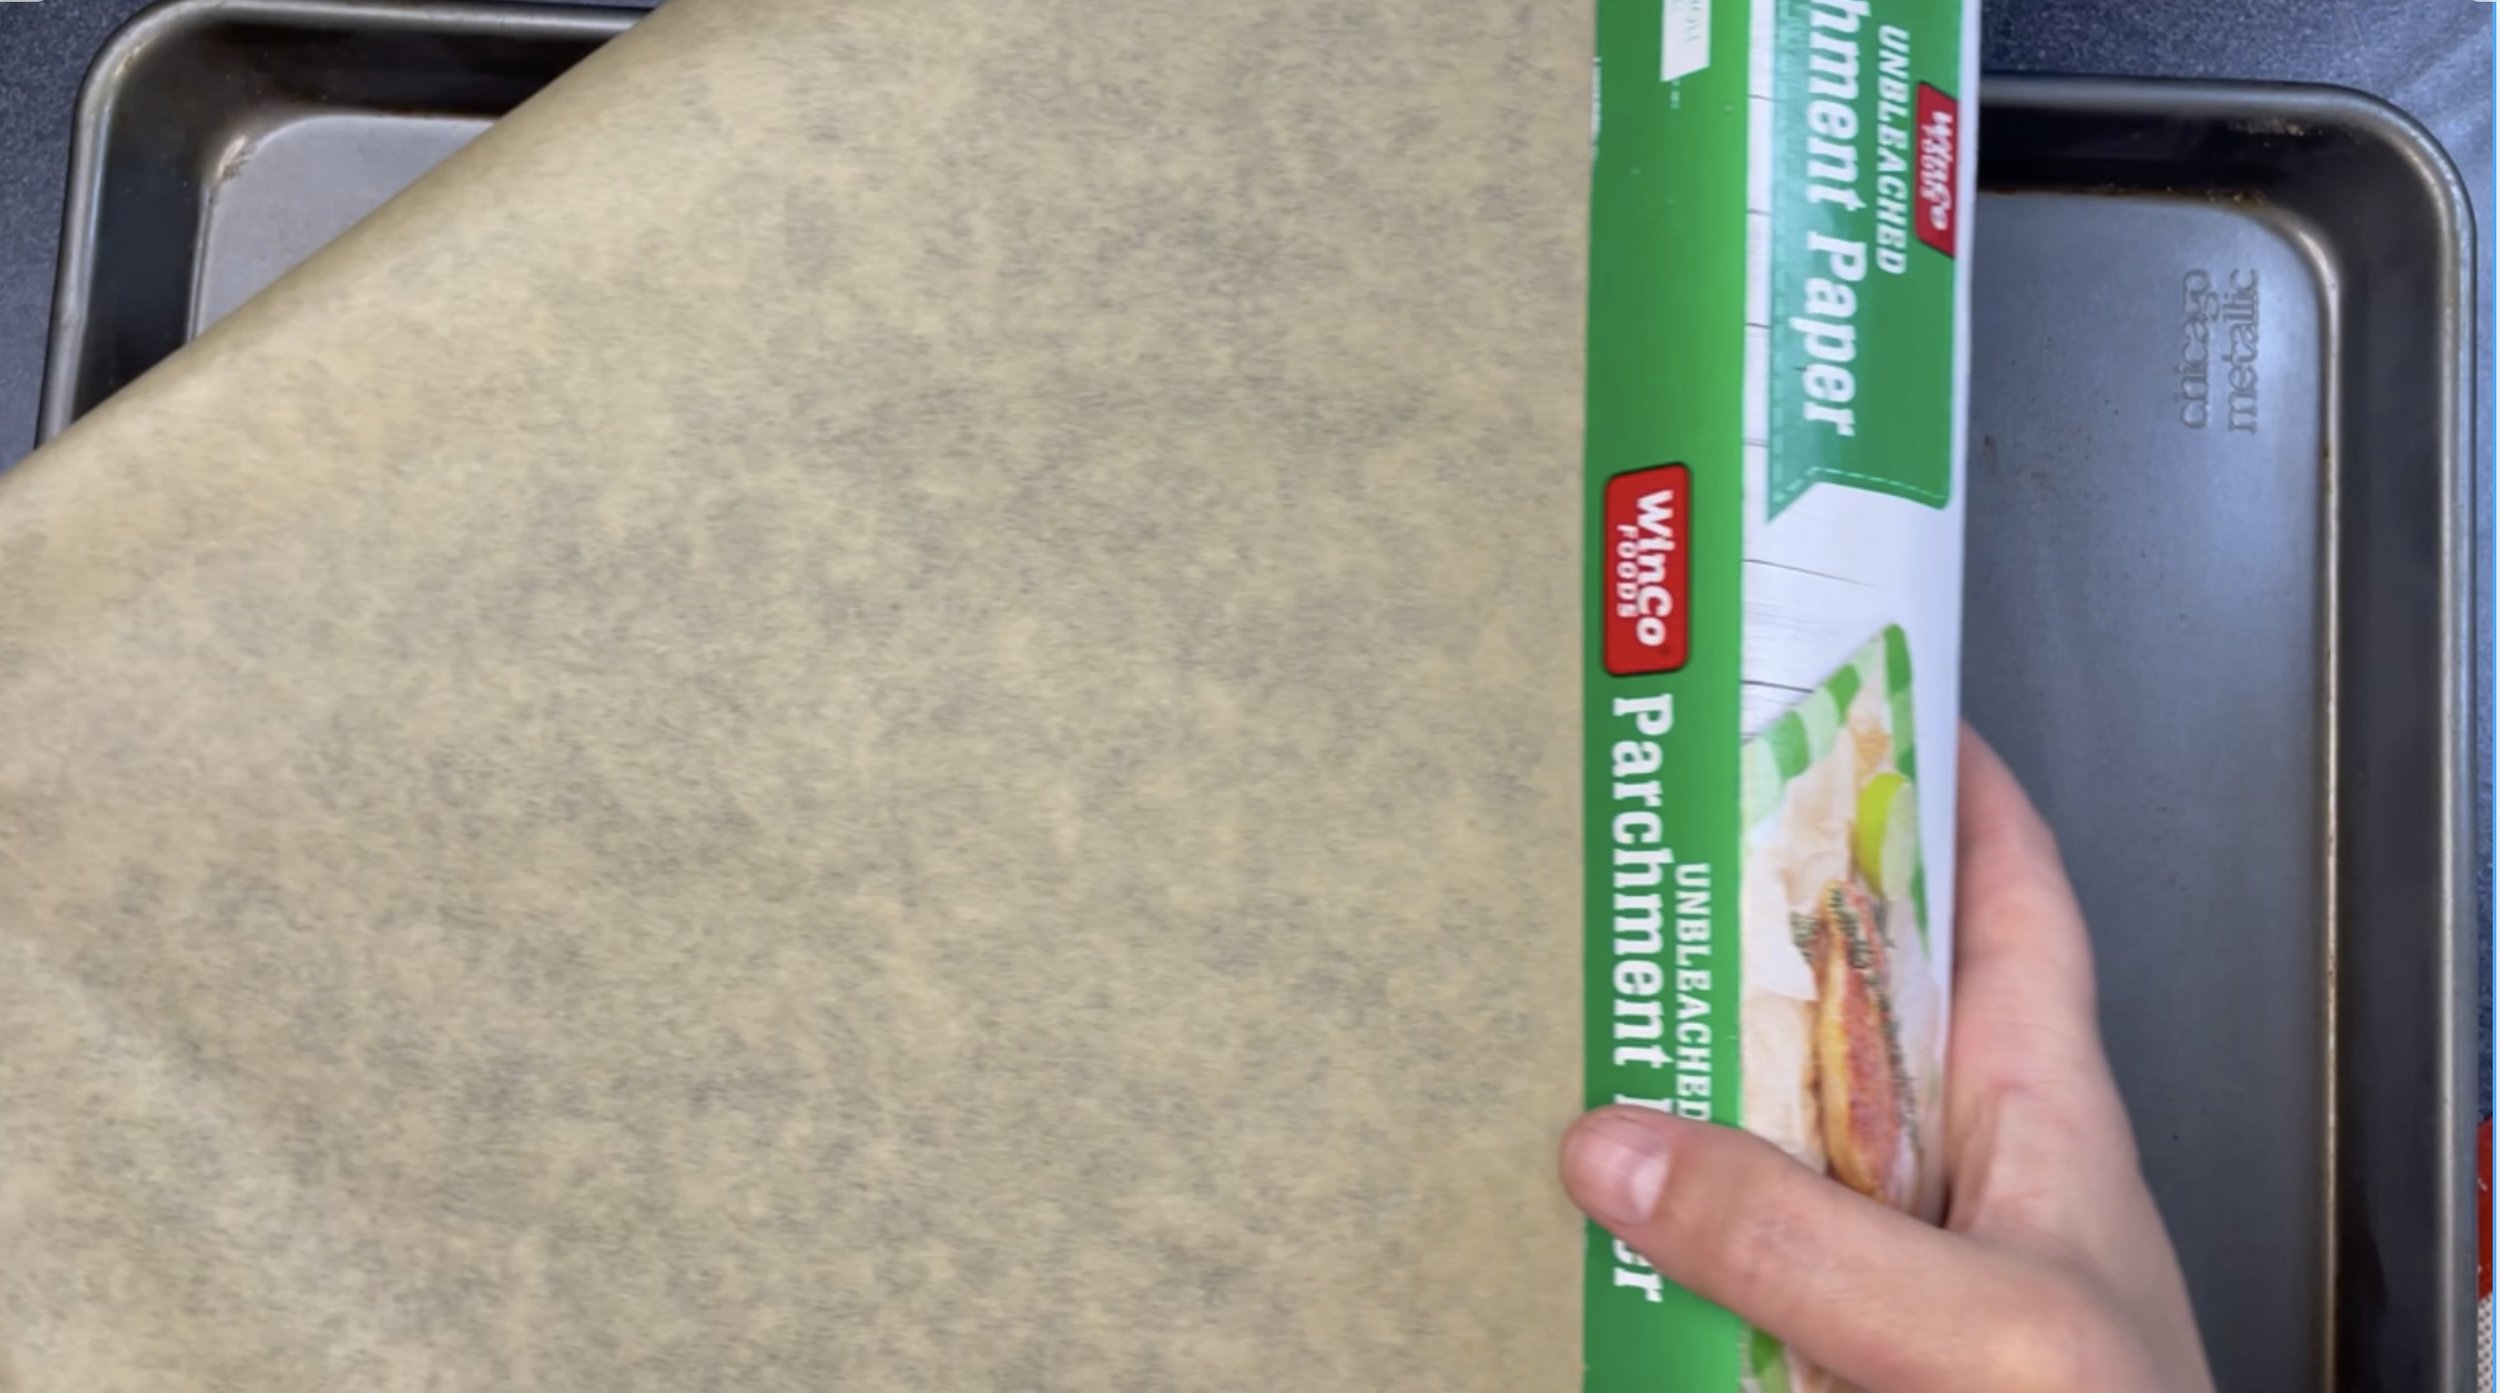
Line baking sheet with parchment paper.

Place treats on lined baking sheet.
Tips for Success:
Use All-Natural Peanut Butter: Ensure the peanut butter you use does not contain xylitol, a sweetener that is toxic to dogs.
Check for Doneness: Every oven is different, so keep an eye on your treats and rotate the baking sheets as needed to ensure even baking.
Customize the Shapes: Have fun with different cookie cutters and stamps to create unique designs that your dogs will love.
Why Your Pupstomers Will Love These Treats:
Dogs adore the rich, nutty flavor of peanut butter, and these treats are no exception. The combination of whole wheat flour and cinnamon adds a delicious aroma and taste that will have your customers’ dogs begging for more. Plus, these treats are made with love and natural ingredients, ensuring they are both tasty and healthy for your furry pupstomers.
Wrapping Up:
I hope this step-by-step guide helps you create delicious peanut butter dog treats that your pupstomers will love. Whether you're a beginner baker or an experienced pro, this recipe is a fantastic addition to your dog treat business and a down right staple. Don't forget to share your baking adventures with us on social media and join our community of dog treat entrepreneurs. Happy baking!
Here’s How to Take Action Right Now:
If you enjoyed this recipe and want to learn more about making dog treats, be sure to check out my YouTube channel and podcast, Pawsitive Profit. Subscribe for more tips, recipes, and stories to help you succeed in your dog treat business.
Join the Community:
Follow us on Facebook and Instagram for more baking inspiration and connect with fellow dog treat bakers. Share your creations with the hashtag #PawsitiveProfit and let's grow our community together!
Go deeper and join our free Facebook Group!
Link to Full Episode:
Watch the full tutorial on YouTube Here for a visual guide to making these peanut butter dog treats. Don’t forget to like, comment, and subscribe!
Happy Baking! 🧡
XOXO,
Kara